chrome拓展是基于chrome平台的小程序,集合了一系列文件,这些文件包括HTML文件、CSS样式文件、JavaScript脚本文件、图片等静态文件以及manifest.json。本拓展可以作为chrome拓展入门练习。详细的chrome拓展资料可以翻看 《Chrome扩展及应用开发》,介绍得很详细~
开发准备
- 代码编辑器
我使用的是Sublime Text,轻量实用
- 天气预报接口
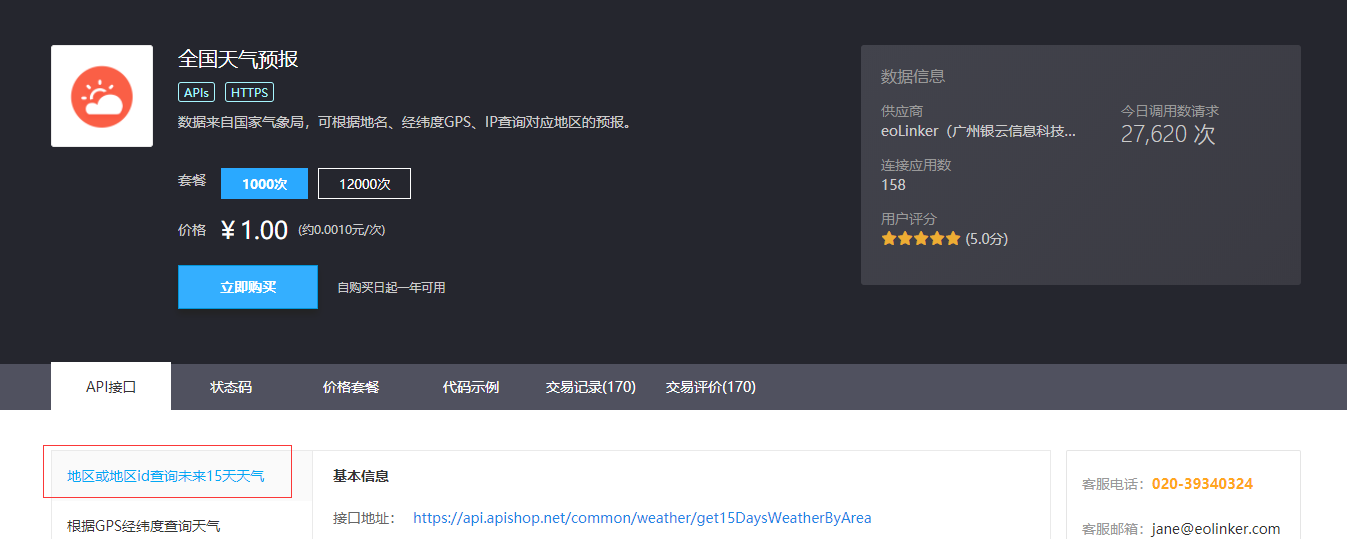
书里面提供的接口无法使用,看了几家接口商店后选用了API SHOP接口商店的天气预报接口(它可以免费试用100次哈哈哈)

上图接口,申请后传接口商店的apiKey和接口对应参数即可,每个用户有自己专属的ApiKey,注册后在API Shop的控制台复制ApiKey调用接口。
代码解析
每个插件都有mainifest.json(清单)文件,它是整个扩展的入口。
mainifest.json
{
    "manifest_version": 2,//对于chrome拓展只能为2
    "name": "天气预报",//拓展名
    "version": "1.0",//拓展版本号,每次上传谷歌商店都需要与上次版本号不一样
    "description": "查看未来15天的天气情况",
    "icons": {
        "16": "images/icon16.png",
        "48": "images/icon48.png",
        "128": "images/icon128.png"
    },
    "browser_action": {
        "default_icon": {
            "19": "images/icon19.png",
            "38": "images/icon38.png"
        },
        "default_title": "天气预报",
        "default_popup": "popup.html"
    },
    "options_page": "options.html",
    "permissions": [
        "api.apishop.net/common/weather/get15DaysWeatherByArea"//chrome请求权限
    ]
}
weather.js文件
都是基本js的语法,不需要介绍了嘻嘻
function httpRequest(url, callback) {
    var xhr = new XMLHttpRequest();
    xhr.open("POST", url, true);
    xhr.setRequestHeader("Content-type", "application/x-www-form-urlencoded");
    xhr.send("apiKey=GU6qekR17503a6b2326f09fbc4e3a7c03874c733300****&city=广州&areaID=101280101");
    //apishop注册后就有apiKey,在API Shop的控制台查看
    xhr.onreadystatechange = function() {
        if (xhr.readyState == 4) {
            callback(xhr.responseText);
        }
    }
}

function showWeather(result) {
    console.log(result)
    result = JSON.parse(result);
    var list = result.result.dayList;
    var table = '<table><tr><th>日期</th><th>天气</th><th>最低温度</th><th>最高温度</th></tr>';
    for (var i in list) {
        table += '<tr>';
        table += '<td>' +list[i].daytime + '</td>';
        table += '<td>' + list[i].day_weather + '</td>';
        table += '<td>' + Math.round(list[i].night_air_temperature ) + ' °C</td>';
        table += '<td>' + Math.round(list[i].day_air_temperature) + ' °C</td>';
        table += '</tr>';
    }
    table += '</table>';
    document.getElementById('weather').innerHTML = table;
}

var url = 'http://api.apishop.net/common/weather/get15DaysWeatherByArea';
httpRequest(url, showWeather);
导入chrome拓展

manifest.json的上一层目录,拖入浏览器即可
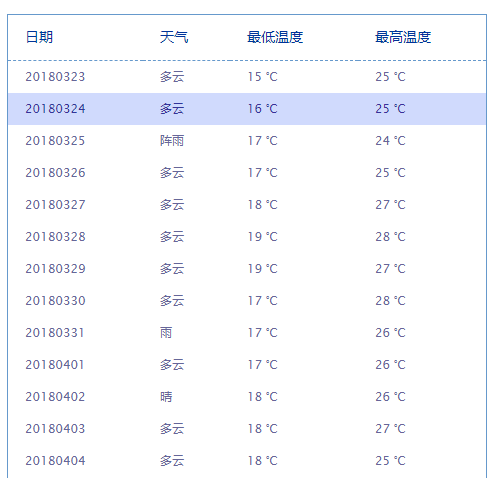
最终效果如图

具体代码和文件结构可以上我的github浏览!
地址:https://github.com/scarqin/chrome-extension-wether
写完教程后其实有很多可以优化的点,比如可以选择城市、当天点开天气预报后存储数据(仅发一次请求)等等,欢迎大家和我交流讨论。
资料